2 Creating and deploying an initial website
2.1 Creating a website in R
We’re going to create a website for Bibi the Cat aka The Tiny Tiger.
Here she is:
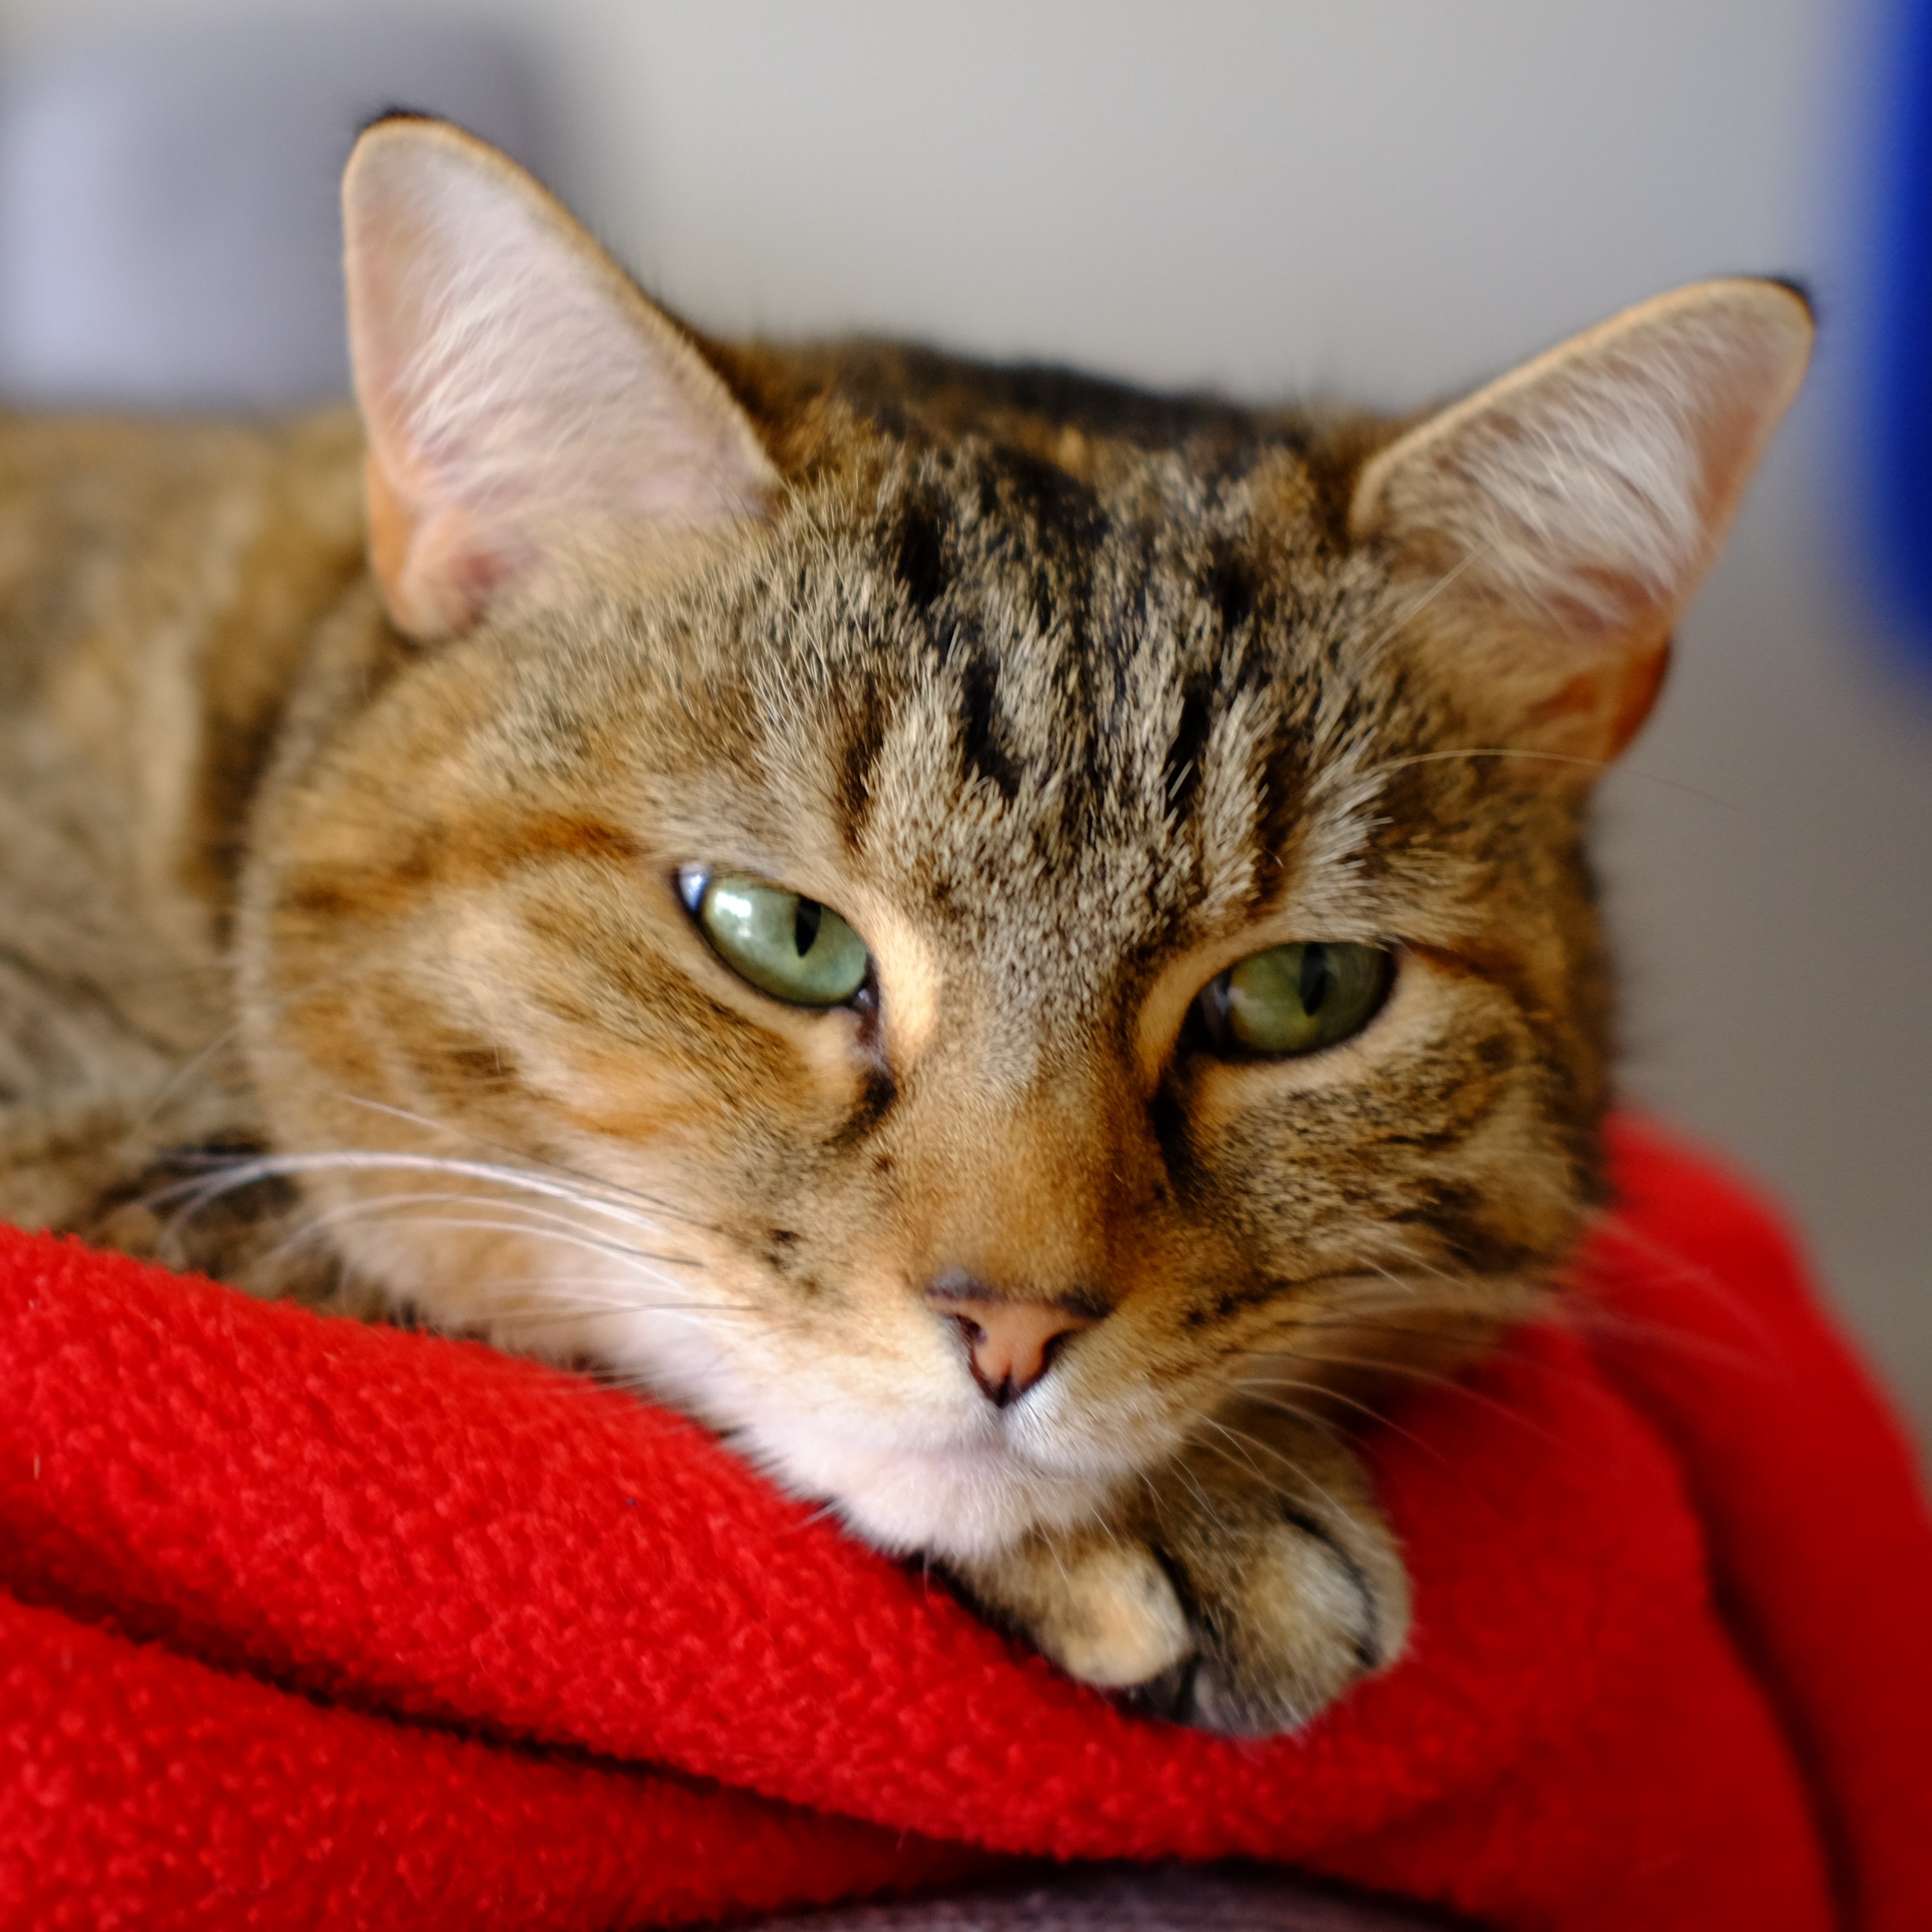
Figure 2.1: Bibi the Cat
Go to File > New Project > New directory and then scroll down and choose Website using blogdown.
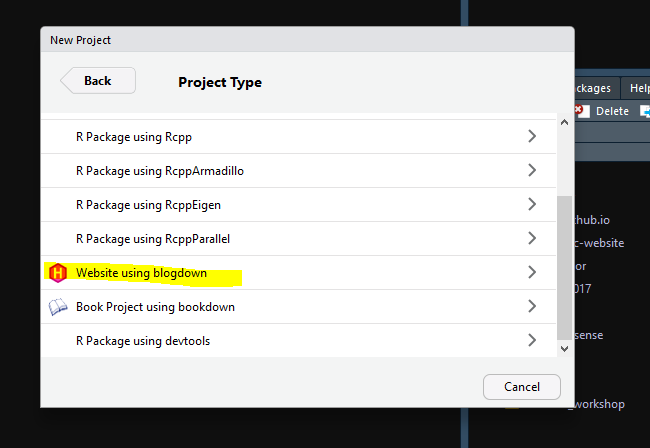
This will then take you to the another screen where you can choose the directory for the website and we choose the theme.
Given Bibi’s interests in rheology we’ll be using the hugo-academic theme, this is selected by entering gchusen/hugo-academic in the box as shown in Figure 2.2
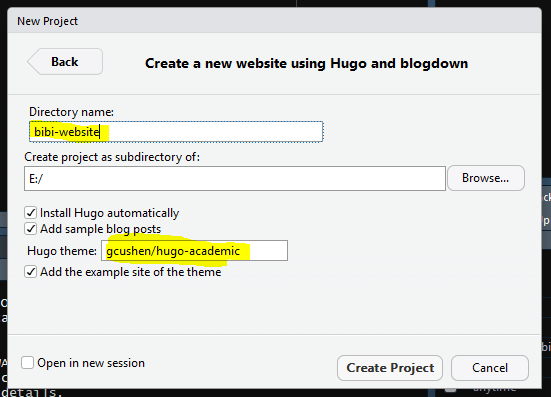
Figure 2.2: Create a new directory with a suitable name with no spaces and choose a theme, here we’re using gchusen/hugo-academic.
Then Create Project and it should download the necessary files, change the working directory to the one created and you should see something like this:
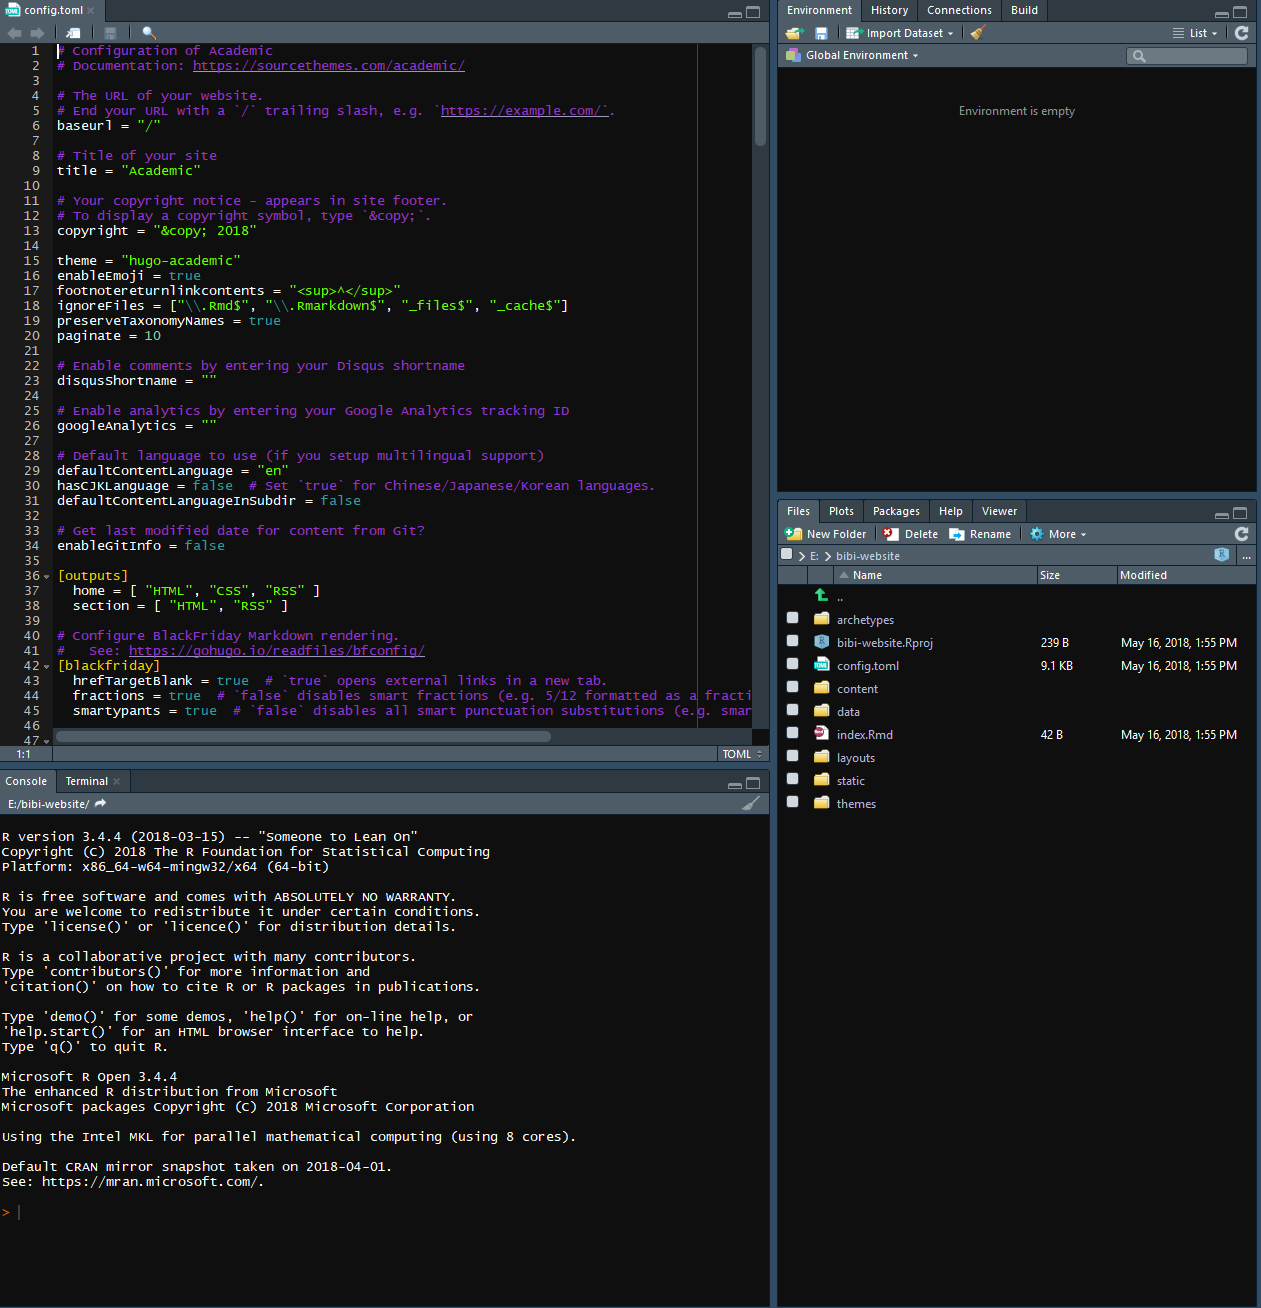
There are a bunch of folders and files, and the script editor pane is open with the confog.toml file open for editing.
As example files are provided we can build a website immediately using:
blogdown::serve_site()And we should see the example site open in the Viewer pane.
2.2 Deployment
The simplest way to delpoy our website is to use netlify.
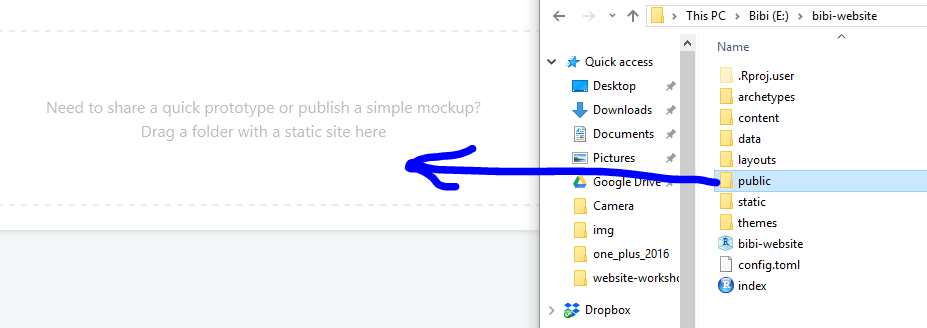
Create and account or connect via another account such as GitHub and then from the Sites tab that should appear if you click on your name, drag and drop the public folder from the directory into the box like so:
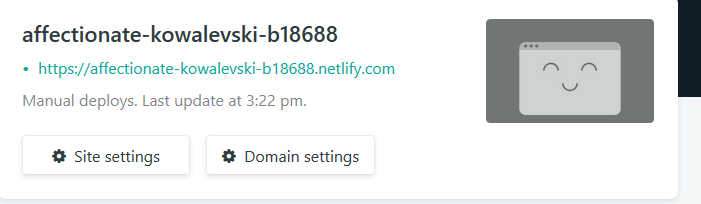
Assuming that goes ok, you’ll then see a randomly generated name for your new site. Click on Site settings to change the name to whatever you wish.
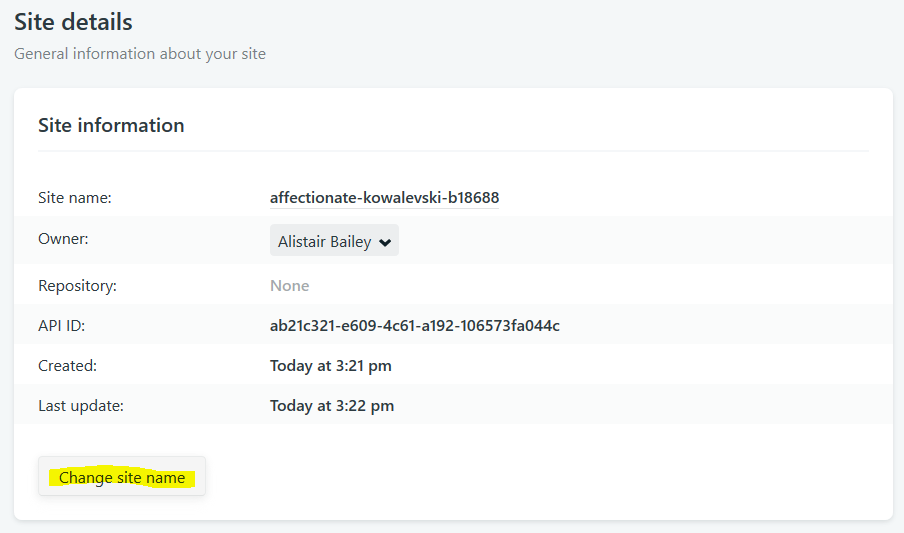
You should see the option to change the name like so. Click and follow the instructions.
Click on your name to get back to Sites and then click on the name of your website to view it.
Congratulations, you’ve created and deployed a website.
Next, we’ll go back into R to learn how to change the content.